
Getting a swimming pool ready for the changing seasons takes more than just pulling off a canvas cover or throwing a handful of chlorine tablets into the skimmer basket. To keep your backyard water crystal clear and your equipment running efficiently year-round, you need a proactive, structured strategy. Many homeowners wait until the first scorching afternoon of early summer to think about their pool, leading to rushed fixes, cloudy water, and ruined weekend plans. Here, we break down exactly what your pool needs during spring opening, summer peak, autumn closing, and winter protection. By taking a proactive approach, you will save thousands of dollars on preventable issues, extend the lifespan of your equipment, and ensure your water remains a safe, beautiful sanctuary for your family and friends.
Spring Opening: Waking Up Your Pool
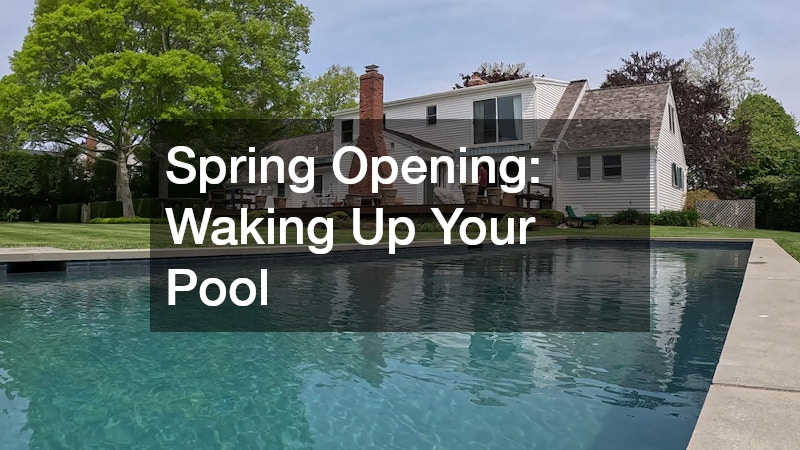
Assessing the Damage After the Winter Freeze
The transition from winter to spring is the most critical time for structural inspections. Freezing temperatures can cause the ground to shift, which puts immense pressure on your pool shell, tiles, and perimeter coping. Before you even think about turning on the filtration system, walk the entire edge of the pool to look for new cracks, popped tiles, or displaced mastic joints.
-
Examine the skimmer throat visually for hairline cracks where water could escape.
-
Look closely at the tile line for white, powdery calcium deposits, which often indicate water seeping through structural issues behind the tile.
-
Check the pool shell for plaster delamination or tears in vinyl liners.
Small cosmetic issues can often be addressed with basic DIY patch kits, but structural issues require expert intervention. If you notice wide fissures or shifting walls, it is best to contact a reputable swimming pool contractor to evaluate the structural integrity of the vessel before you fill it completely.
Clearing Out the Winter Sludge and Debris
If your winter cover suffered a tear or if heavy autumn winds managed to blow debris beneath the edges, you might be greeted by a dark, stagnant marsh instead of clear blue water. Removing the cover carefully is a two-person job; you must pump off any standing water on top of the cover and sweep away wet leaves before lifting it, or you risk dumping pounds of organic waste directly into the pool.
When a cover failure occurs, you are often left dealing with a massive algae bloom that requires a comprehensive green pool clean-up process.
-
Manually scoop out as many large leaves, twigs, and dead bugs as possible using a heavy-duty leaf rake bag; running a mechanical pool vacuum over large piles of debris will clog the throat and risk burning out your pump motor.
-
Superchlorinate the water by adding three to four times the normal dose of liquid shock to break down organic contaminants and kill the algae spores.
-
Run the filtration system continuously for twenty-four to forty-eight hours, backwashing or cleaning the filter elements multiple times per day as they become packed with dead algae.
-
Utilize a flocculant if the water remains milky after chlorination, which binds tiny suspended particles into heavy clumps that settle to the pool floor, allowing you to vacuum them directly to waste.
Reviving the Equipment Pad
Your pump, filter, and heater have sat stagnant for months, meaning seals may have dried out and small animals may have nested inside electrical housings. Before flipping the breaker switches back on, perform a thorough physical inspection of the equipment pad.
-
Reinstall all the plastic drain plugs that were removed from the pump basket housing, filter tank, and heater header during winterization.
-
Lubricate the rubber pump lid O-ring with a silicone-based lubricant to ensure an airtight seal; a dried-out O-ring will allow the pump to draw in air, preventing it from priming properly.
-
Open all lines by adjusting the valves, fill the pump basket housing with water from a garden hose to prime it, and turn on the power.
Keep a close eye on the pressure gauge located on top of your filter tank. If the pressure shoots up rapidly or if you notice water spraying from any of the PVC joints, shut the system down immediately. Small leaks can sometimes be fixed by tightening unions, but cracked valve bodies or failing split-nuts often require professional Pool Repairs to ensure the pressurized system operates safely throughout the heavy usage months.
Summer Peak: Managing High Traffic and Scorching Heat

Balancing Water Chemistry Against Sun and Swimmers
Summer brings long days of intense ultraviolet radiation and heavy swimmer loads, both of which place a massive strain on your pool chemicals. Sunlight quickly destroys free chlorine molecules through a process called photolysis, while sweat, sunscreen, and organic waste use up the remaining sanitizer at an accelerated rate.
-
Test your water at least twice a week during peak summer months, checking free chlorine, total chlorine, pH, total alkalinity, and cyanuric acid.
-
Maintain total alkalinity between 80 and 120 parts per million to act as a buffer, preventing your pH levels from swinging wildly up and down.
-
Keep your cyanuric acid level between 30 and 50 parts per million to act as a sunscreen for your chlorine, preventing it from degrading within hours of exposure to direct sunlight.
The foundation of clear water is a strict pH balance pool maintenance routine. When your pH climbs above 7.6, your chlorine becomes highly inefficient, meaning you can have plenty of chlorine in the water, but it lacks the chemical power to kill pathogens or algae. Conversely, if the pH drops below 7.2, the water becomes highly acidic, leading to etched plaster, corroded metal components in your heater, and intense eye irritation for your swimmers.
Smart Water Refilling and Conservation
During July and August, evaporation can easily cause your pool to lose up to two inches of water per week. If the water level drops below the halfway mark of your skimmer mouth, the pump will draw in air instead of water, causing the motor to overheat and lose prime. Keeping the pool topped up is essential, but how you add water matters.
-
Avoid adding small amounts of unmanaged municipal water daily without checking how it alters your baseline hardness and alkalinity.
-
Be aware of local water restrictions during drought conditions, as filling large volumes from a residential line can result in heavy municipal fines.
If you need to raise the pool level by several inches after a party or a string of ultra-hot days, using a residential hose can take a long time and put undue stress on your home plumbing lines. In these situations, hiring an experienced pool filling company to deliver a bulk truck of clean, pre-treated water can save time and keep your chemical balances from fluctuating wildly.
Enhancing the Surrounding Pool Environment
The area immediately surrounding your water is just as important as the water itself. A pool deck needs to be safe, slip-resistant, and sloped correctly so that contaminated rainwater, dirt, and chemicals drain away from the pool coping rather than washing back into the clean water.
-
Inspect concrete decks for major settling or cracks that create tripping hazards for bare feet.
-
Wash the deck regularly to remove slick buildup caused by accumulated sunscreen oils, spilled drinks, and algae growth.
-
Check that deck drains are clear of debris so heavy summer downpours do not cause backyard flooding.
If your concrete has cracked severely, shifted out of alignment, or become excessively hot under the summer sun, it might be time to look into modern resurfacing options. Consulting a professional pool deck installer can help you transition to cooler, safer materials like travertine pavers, stamped concrete, or textured acrylic coatings that improve traction and lower surface temperatures.
Specialized Water Sources: Well Water vs. Municipal Supplies
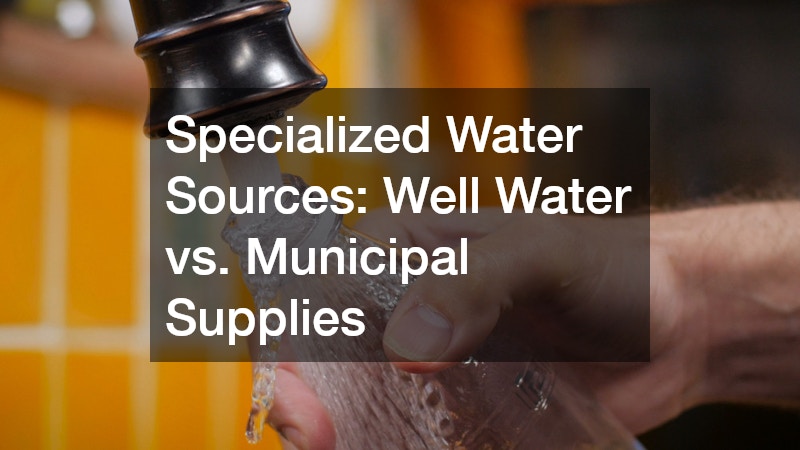
Safeguarding Your Pool When Relying on a Private Well
Homeowners who live in rural areas often face unique challenges when managing their pools because they rely on underground aquifers rather than treated municipal lines. Well water bypasses city water treatment plants, meaning it frequently carries heavy loads of dissolved minerals, dissolved gases, and low pH levels.
-
High iron content will react with pool shock, turning your water a bright translucent green or dark brown within minutes of chlorination.
-
Dissolved copper can leach into the water, causing dark green stains on vinyl liners and turning light-colored hair green after a long swim.
-
Manganese can cause dark purple or black flecks to appear on the floor and walls of a plaster pool.
To prevent permanent staining and chemical confusion, never pump thousands of gallons of untreated groundwater straight into your pool without running diagnostic tests first. Utilizing a certified water well testing service before the start of the swimming season allows you to discover exactly what types of minerals, nitrates, and bacteria are hiding in your supply so you can formulate a preemptive chemical treatment strategy.
Managing Equipment Demands and Filtration
Filling a twenty-thousand-gallon pool or adding significant top-off water from a domestic well can have severe consequences for your home infrastructure. Well pumps are designed to cycle on and off to support normal household usage; running them continuously for twenty-four to forty-eight hours straight can cause them to overheat, leading to mechanical failure.
-
Monitor your well output closely to ensure you do not temporarily run the well dry, which can introduce sand and mud into your home plumbing.
-
Fill your pool in stages, running the water for a few hours and then giving the well pump time to cool down and the aquifer time to recharge.
To alleviate the stress on your plumbing, make sure your home water filtration systems are up to date and clean. Passing well water through high-quality sediment and carbon filters before it reaches your pool removes a large portion of the physical particulates and iron oxidized by the air. For remaining microscopic dissolved metals, you will need to add a specialized metal sequestering agent directly to the pool water, which locks the minerals in solution so they can be captured by your pool filter rather than plating out onto your clean pool surfaces. Regular well pump maintenance should also be scheduled to ensure the pressure tank and control switch can handle the increased volume demanded by seasonal pool ownership.
Autumn Closing and Winter Care: Protecting Your Investment

Deep Cleaning and Lowering the Water Line
As the leaves begin to turn color and temperatures drop, it is time to shift your focus toward protecting your pool from the harsh winter months ahead. Closing a pool properly is a defensive measure that shields the structural shell, tile line, and expensive plumbing infrastructure from the destructive forces of expanding ice.
-
Brush the walls and floor thoroughly to dislodge hidden algae spores hiding in the pores of the plaster or vinyl seams.
-
Vacuum the pool completely; leaving even a small pile of leaves at the bottom of a closed pool will cause deep organic staining that is incredibly difficult to remove in the spring.
-
Test the water one final time and adjust the chemical balance, slightly elevating the total alkalinity and calcium hardness to protect against cold-water corrosion.
Once the pool is perfectly clean and balanced, you must lower the water level below the mouth of the skimmer and any return jets that cannot be plugged from the inside. When determining how and where to pump out this excess water, always verify your local municipal guidelines. Many towns have strict water management plans that dictate where pool water can be discharged, preventing homeowners from dumping chemically treated water into storm drains or onto neighboring properties where it could harm local flora, fauna, or delicate groundwater systems.
Winterizing Lines and Blowing Out Plumbing
The most critical step in cold-climate pool winterization is removing water from the underground plumbing lines. Water expands by roughly nine percent when it freezes; if water is left inside your PVC pipes, the expanding ice will split the lines underground, resulting in devastating leaks that require heavy excavation to repair in the spring.
-
Connect a high-volume commercial air blower or a heavy-duty shop vacuum to your skimmer line and force air through the system until water bubbles furiously out of the return jets in the pool.
-
Insert expandable rubber winter plugs into the return lines while the air is still blowing to create an airtight, watertight seal.
-
Pour non-toxic swimming pool antifreeze into the skimmer lines to provide an extra layer of protection against any residual moisture that might collect via condensation.
-
Disconnect your pump, filter tank, and chlorinator entirely, ensuring all internal water has drained completely, and store the pressure gauges and small plastic plugs indoors where they will not be exposed to sub-zero temperatures.
Finally, secure a high-quality safety cover over the pool vessel. Safety covers are anchored tightly into the deck using heavy-duty springs and brass anchors, preventing leaves from blowing inside and ensuring children or pets cannot accidentally fall through. Check the cover periodically throughout the winter to remove heavy snow accumulation or piles of wet leaves that could stretch the material or pull the anchors loose from the deck.
Keeping a swimming pool clear, safe, and efficient throughout the year requires understanding how your water and equipment interact with the shifting seasons. By breaking down your maintenance routine into distinct, manageable steps for spring, summer, autumn, and winter, you take the guesswork out of pool ownership.